¡¡Hola chic@s!!
Soy Nieves y nuevamente me acerco a vosotros para haceros llegar la séptima entrega del Mistery que os ha propuesto Komola para estos días tan especiales.
Es un bloque que ya os hemos presentado hace unos días, pero en esta entrega lo que queremos en daros otra opción para trabajar el bloque de Log Cabin. Normalmente utilizamos papel de costura (fiselina de costura), pero en este caso nuestra propuesta es trabajarlo por piezas sin utilizar acetato.
Séptima entrega del Mistery Quilt by Komola
El tamaño del bloque será de 20cm x 20cm, al que habrá que añadir el margen de costura con el que estéis trabajando.
Necesitamos realizar cuatro bloques de este proyecto y recordad que, como en la entrega anterior, dos de ellos irán en efecto espejo con respecto a los otros bloques. Para facilitaros la tarea, os damos el patrón de las dos posiciones.
Además, en esta ocasión os podéis descargar la leyenda que he utilizado para realizar mi proyecto para que os sirva de ejemplo:
Estos log cabin los debéis realizar con las mismas telas con las que hicistéis los log cabin de 10cm x 10cm de entregas anteriores.
TRUCO: Los pequeños triángulos verdes en un bloque van a la derecha de la pieza correspondiente y en el otro van en la izquierda del bloque.
Antes de empezar haríamos lo que llamamos leyenda, donde identificaremos cada pieza con el color correspondiente y calcularemos el numero de piezas y su tamaño.
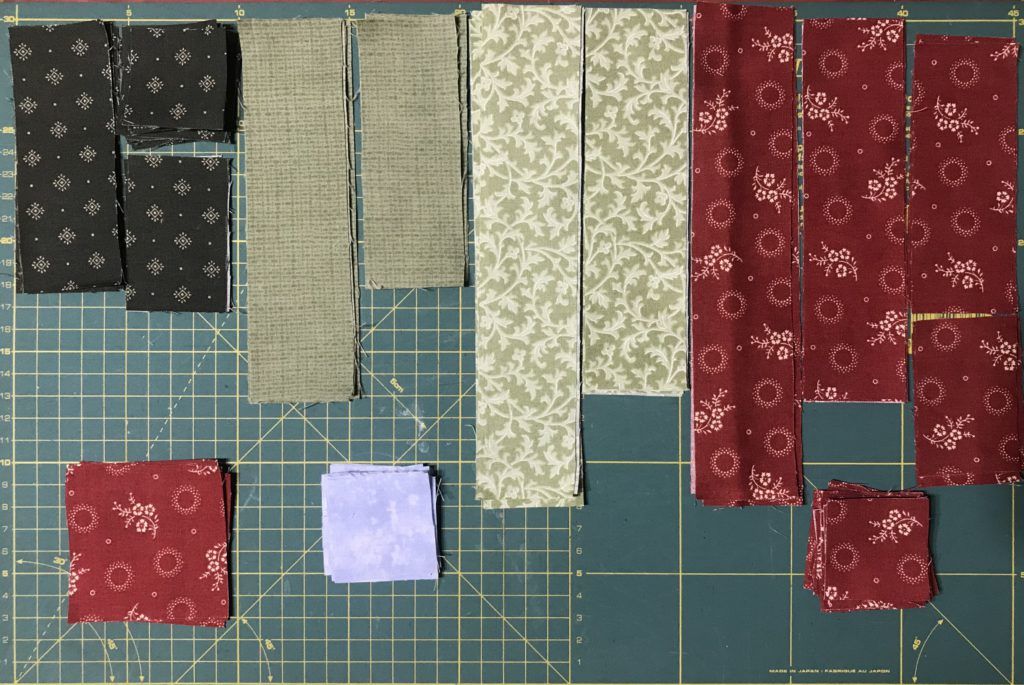
En primer lugar, cortamos nuestras piezas.
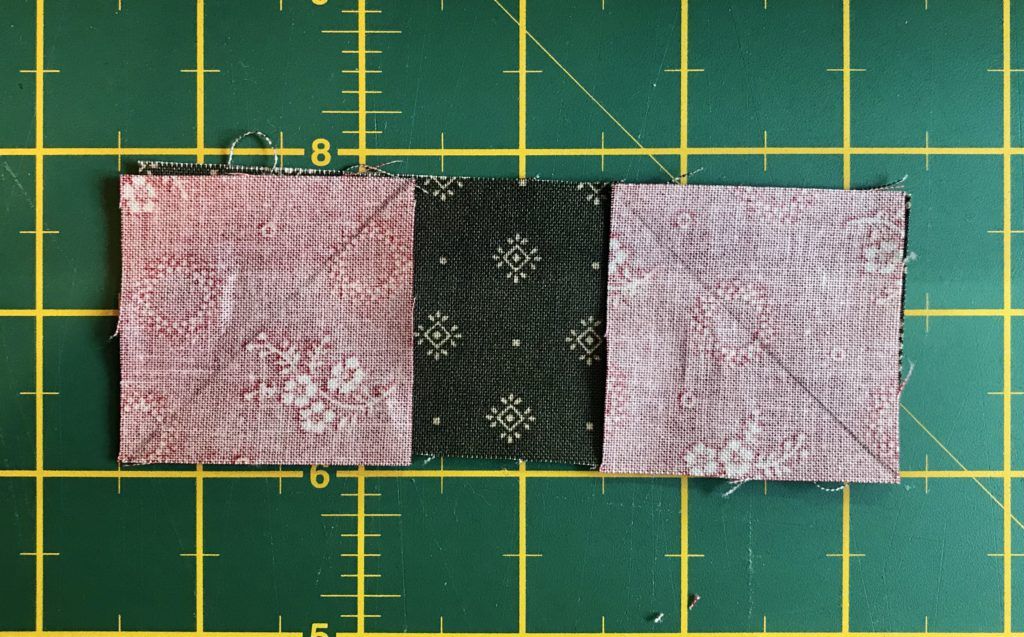
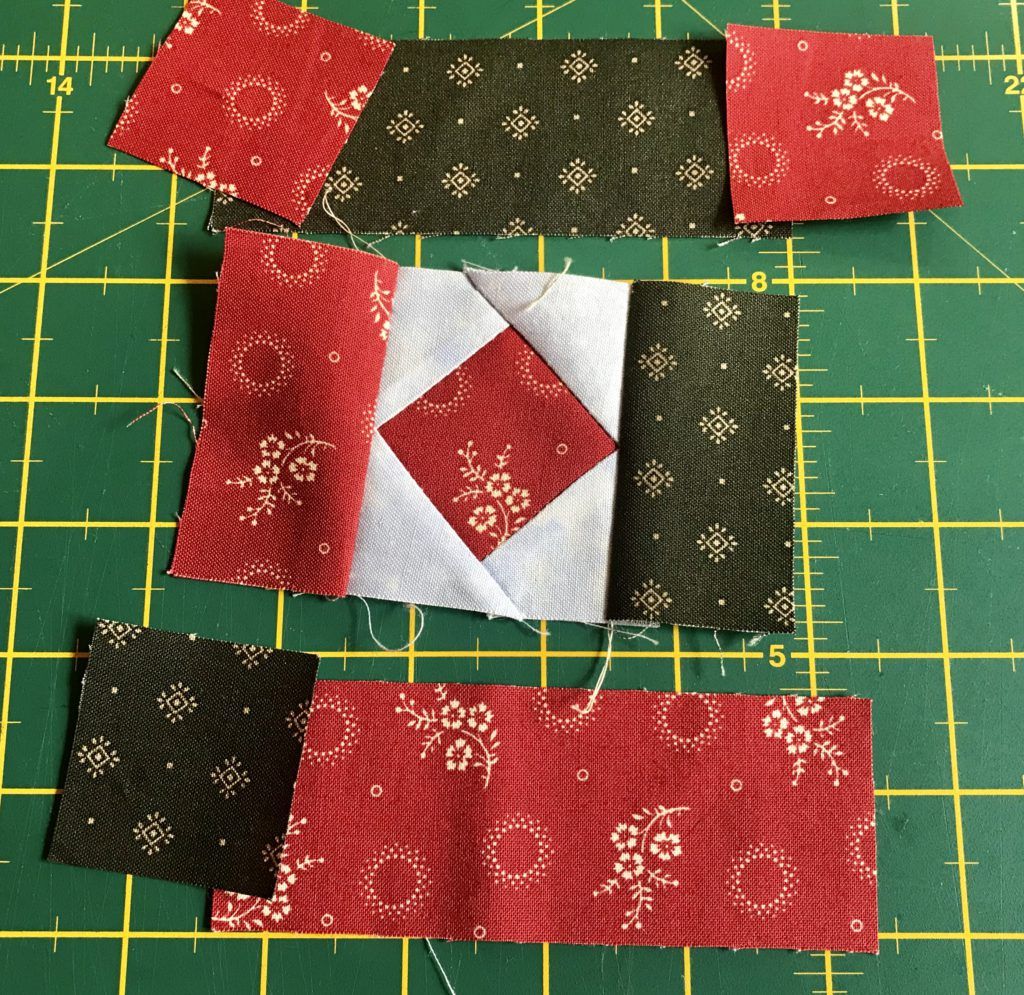
Empezaremos preparando la pieza central y para ello utilizaremos la pieza roja de 5cm x 5cm y 4 piezas de 2,5cm x 2,5cm (éstas serán de la tela de fondo o del verde más claro). En estas piezas de 2,5cm x 2,5cm dibujaremos por la parte de atrás de la tela una diagonal, que nos servirá como línea de costura.
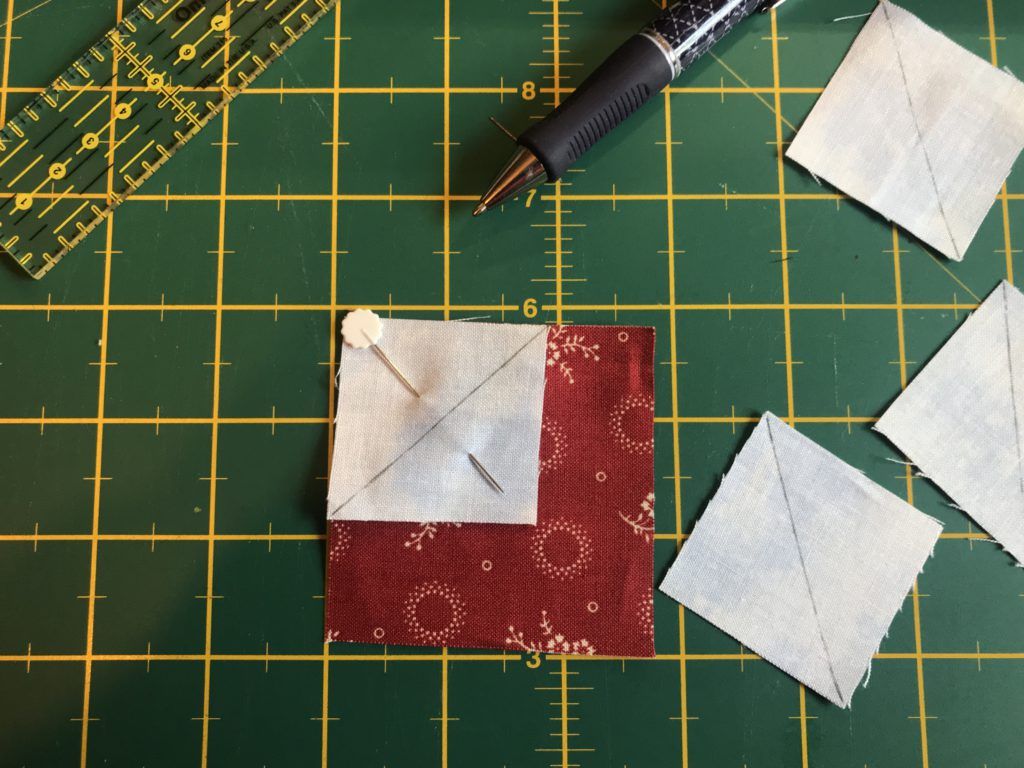
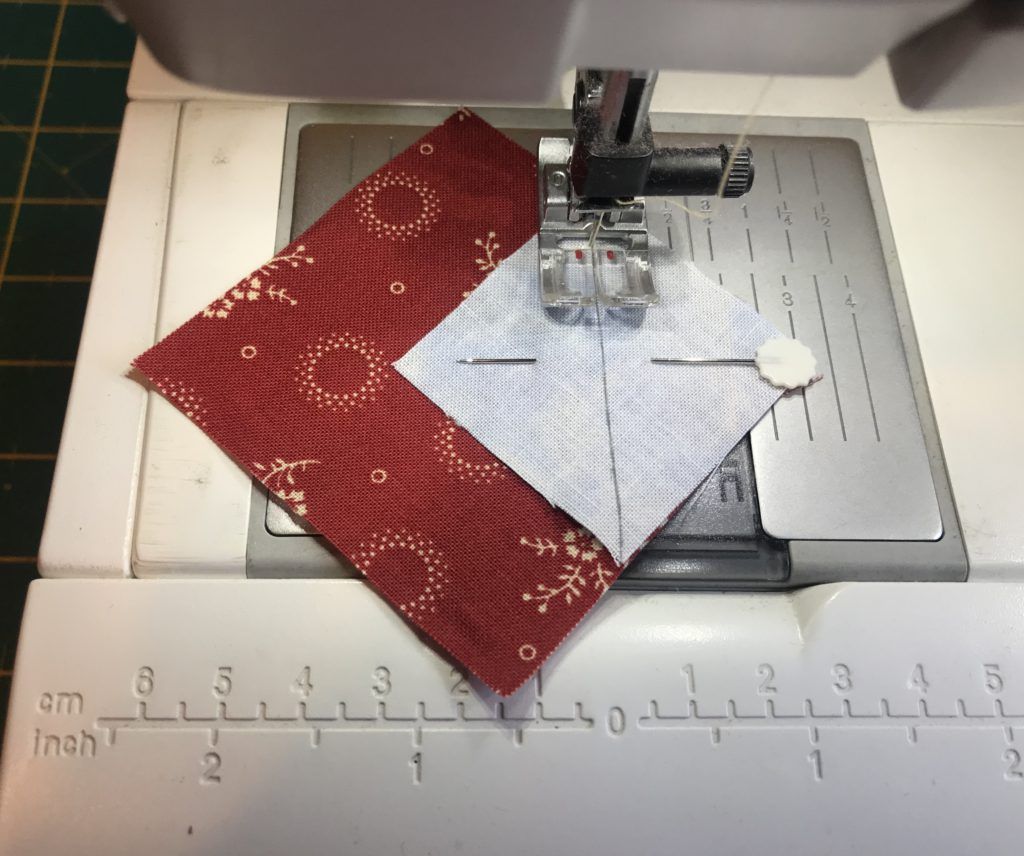
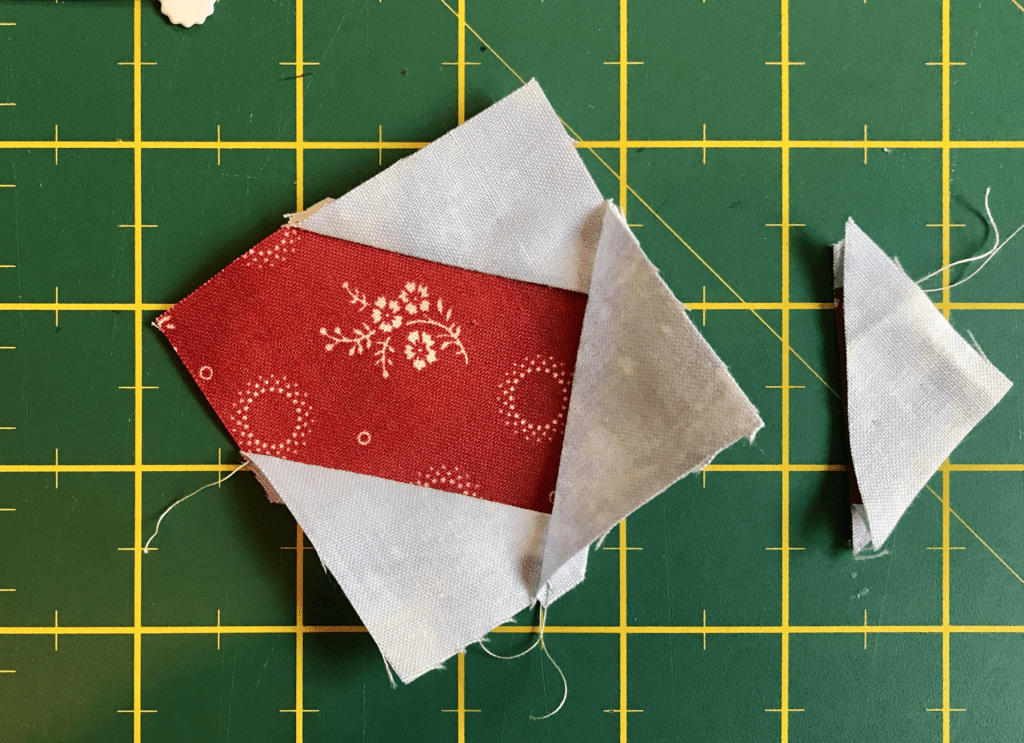
Posicionamos los cuadrado de 2,5cm x 2,5cm en la pieza roja.
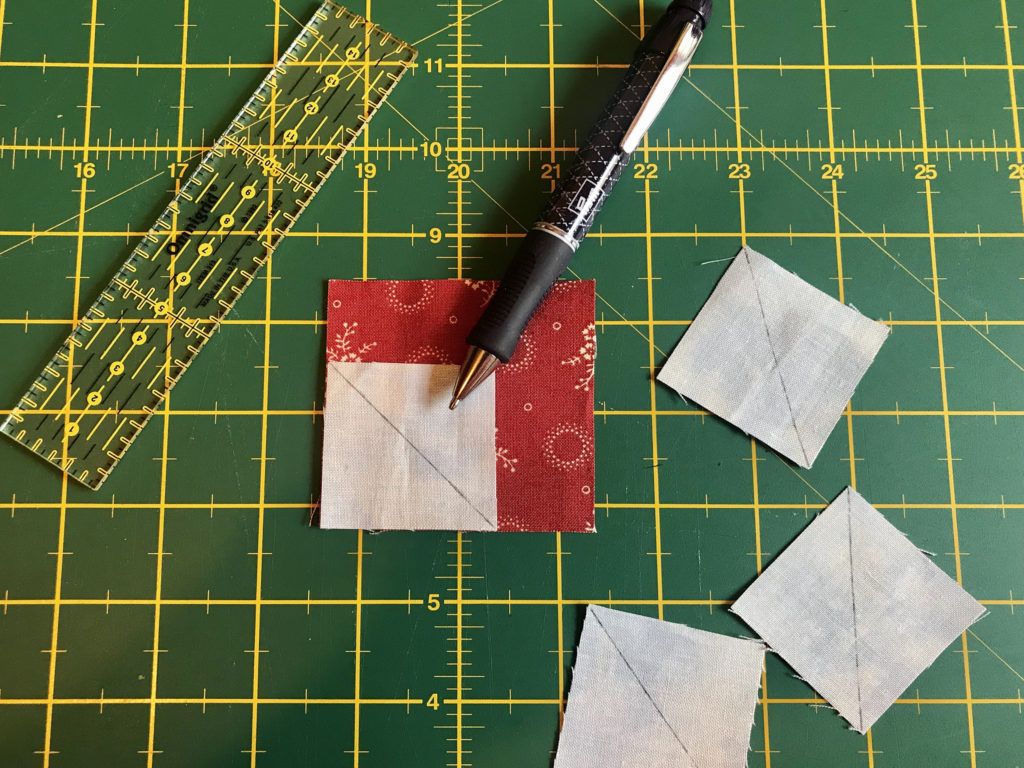
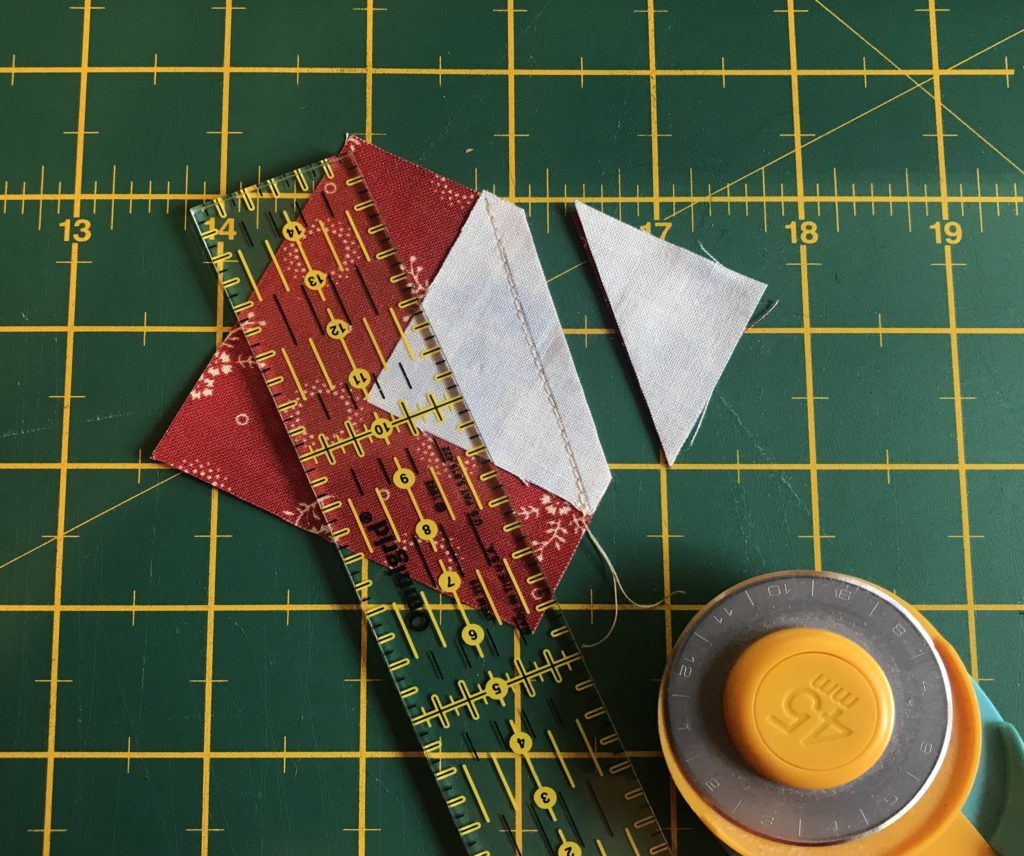
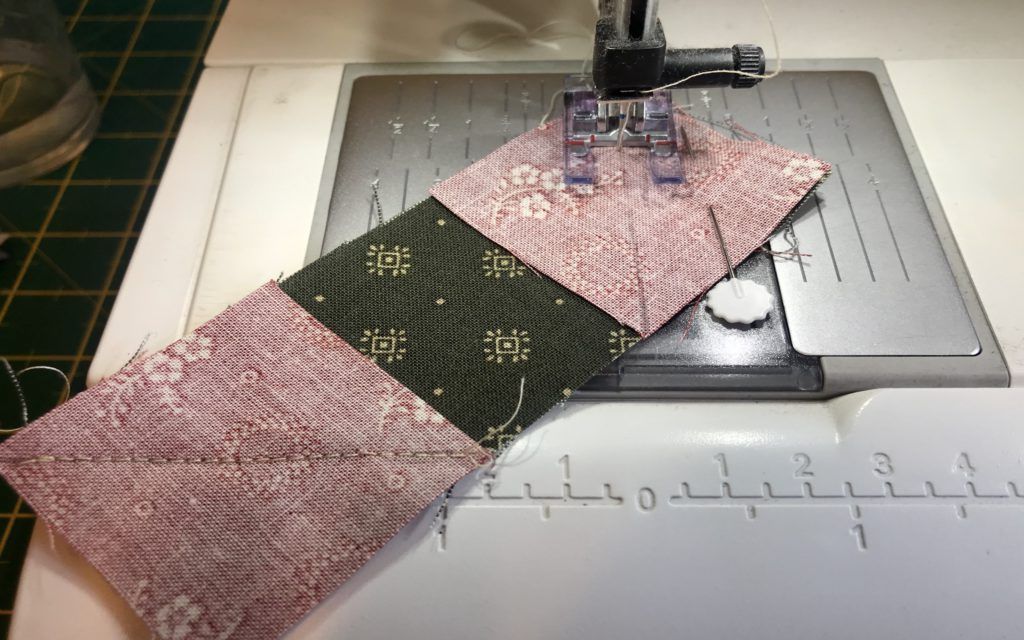
Cosemos a máquina y recortamos el exceso de tela y planchamos.
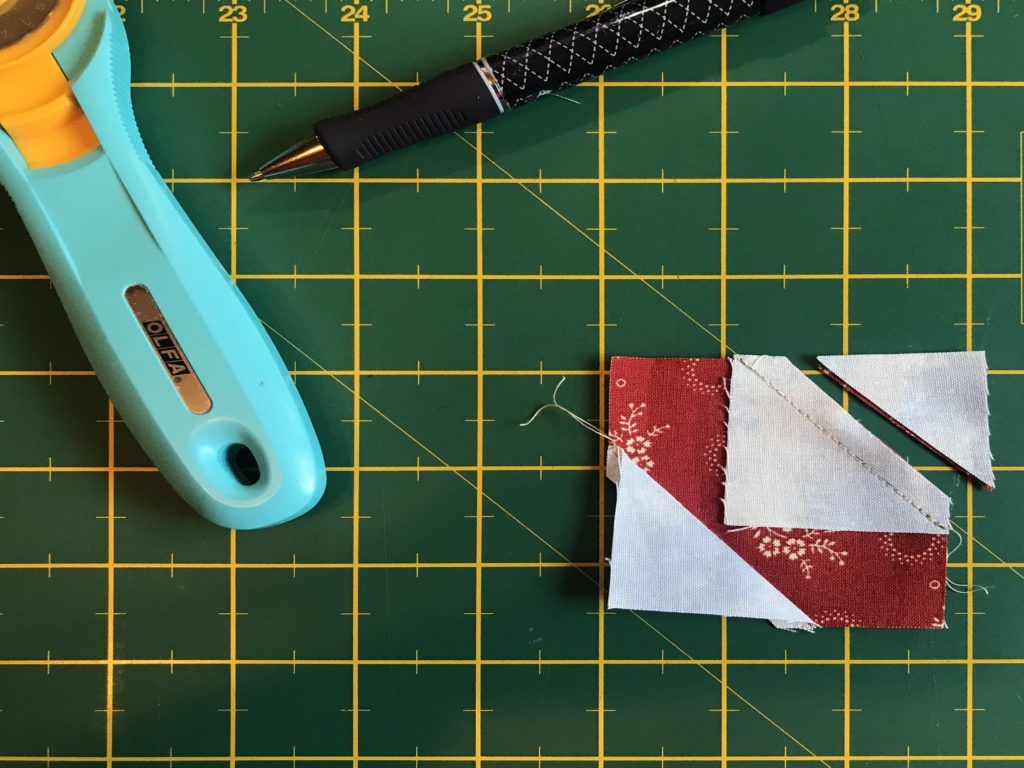
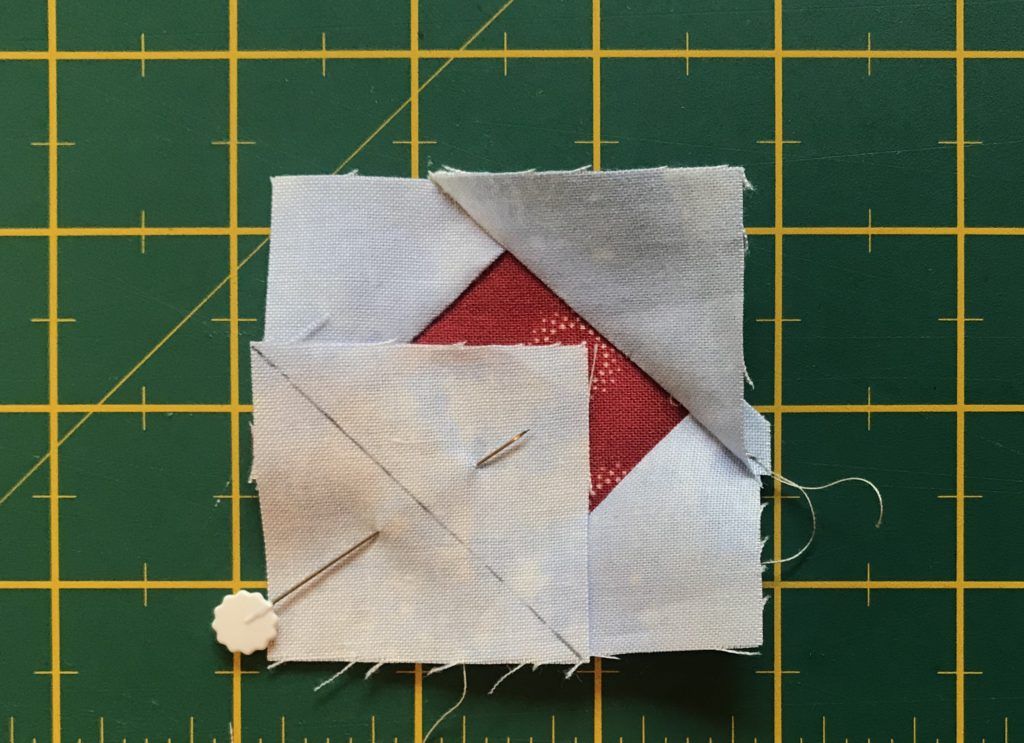
Pasamos a poner la otra esquina, cosemos, recortamos y planchamos.
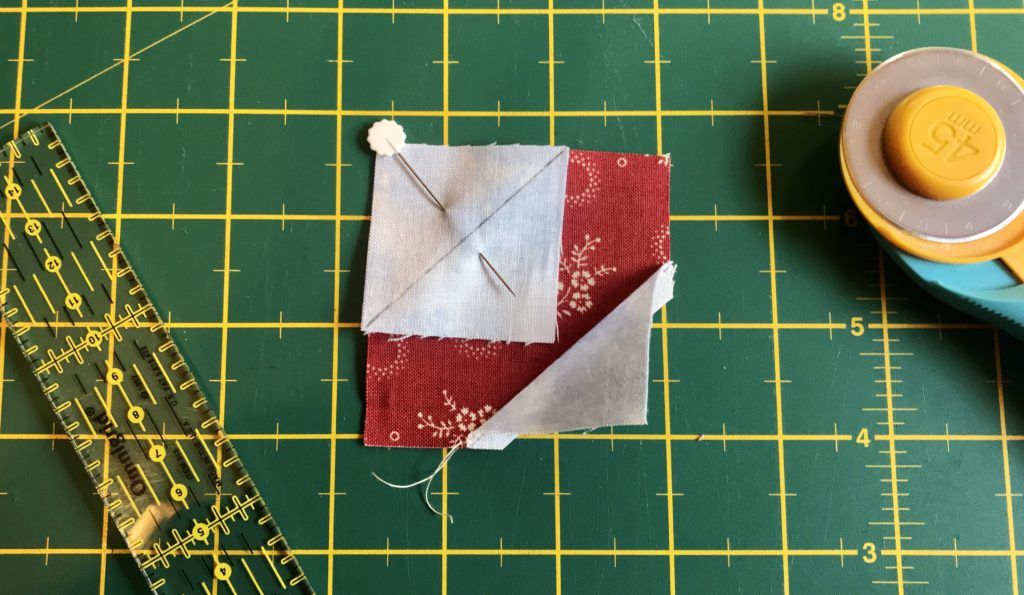

¡¡¡Ya se empieza a ver!!! Ahora ponemos las otras dos esquinas.
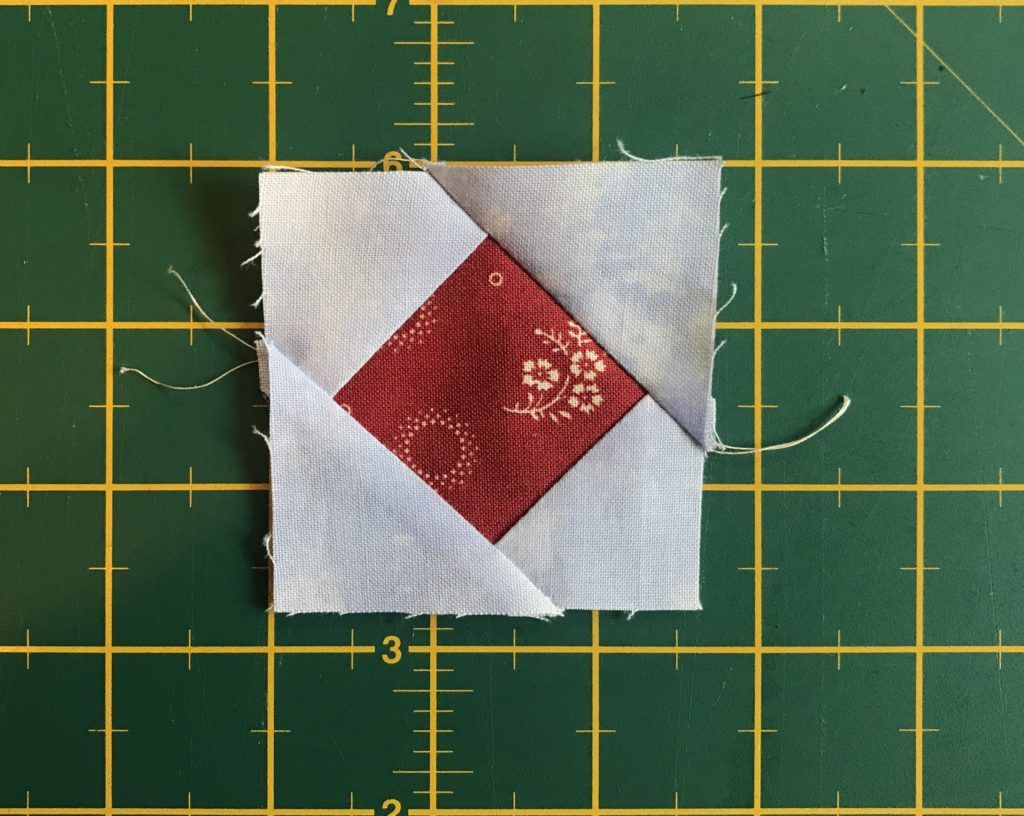
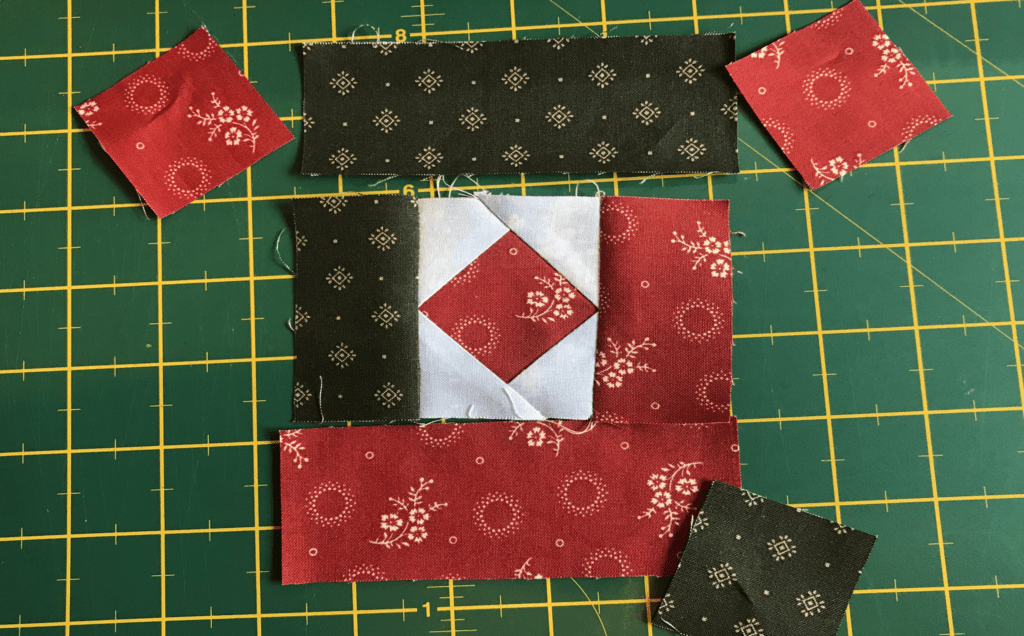
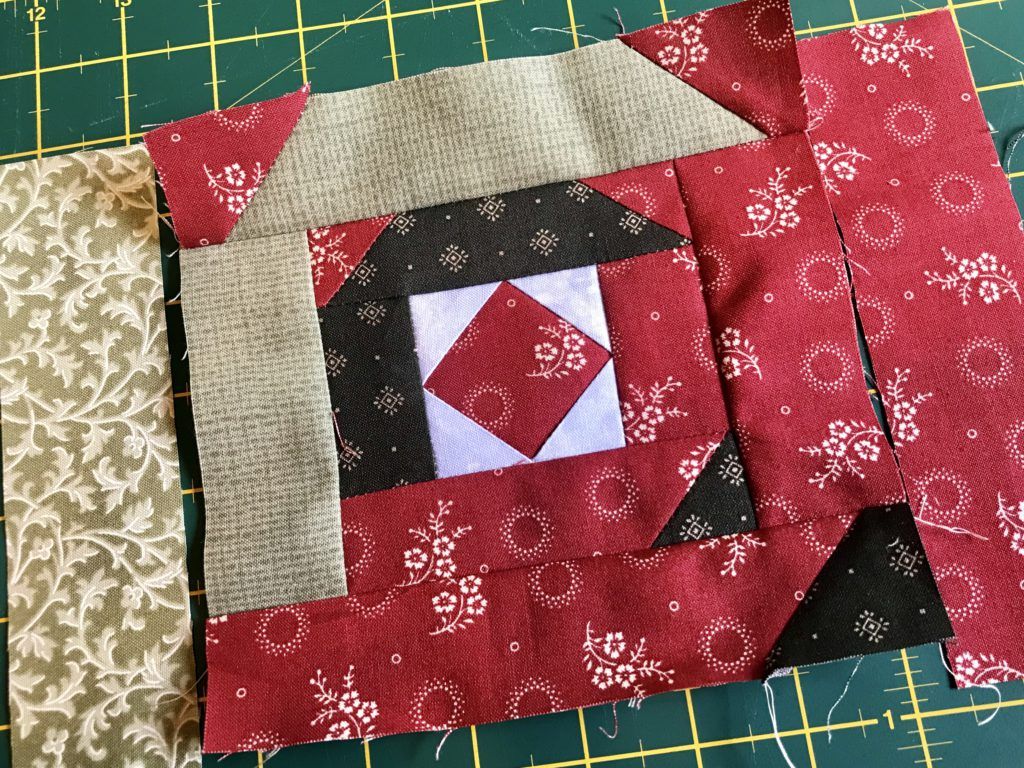
Hecho el centro, ahora vamos a ir poniendo el resto de las piezas.
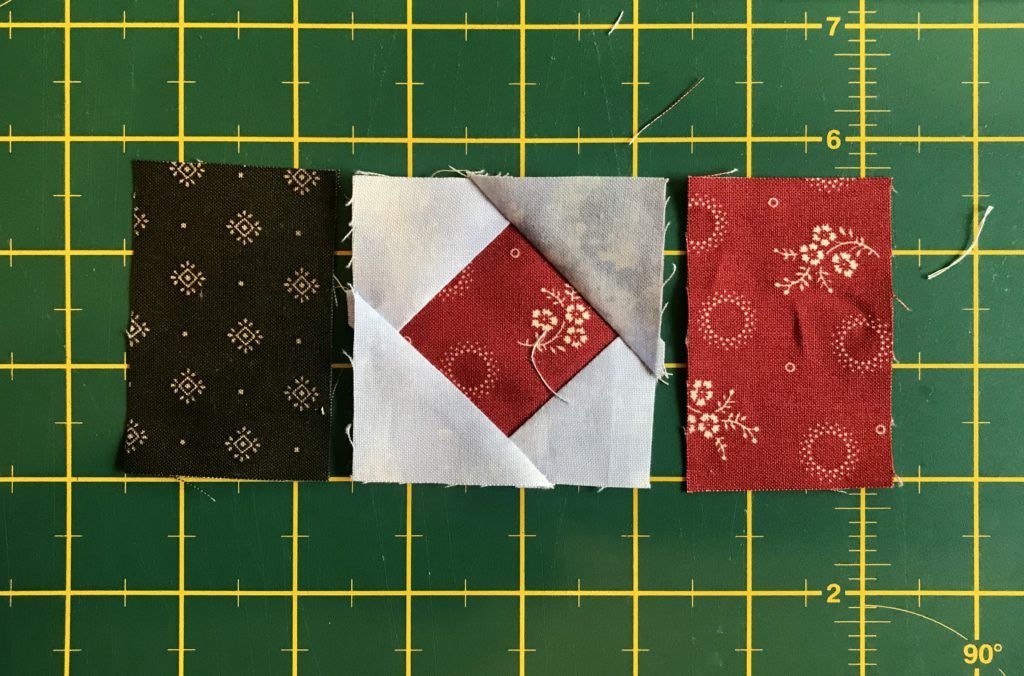
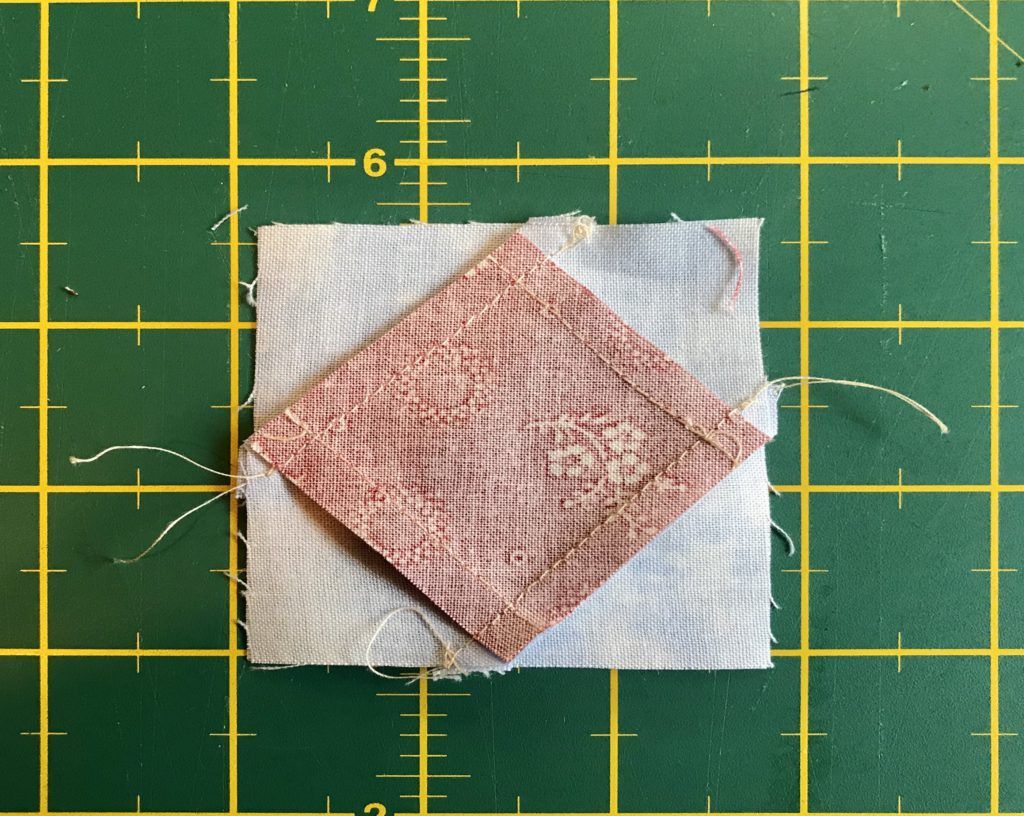
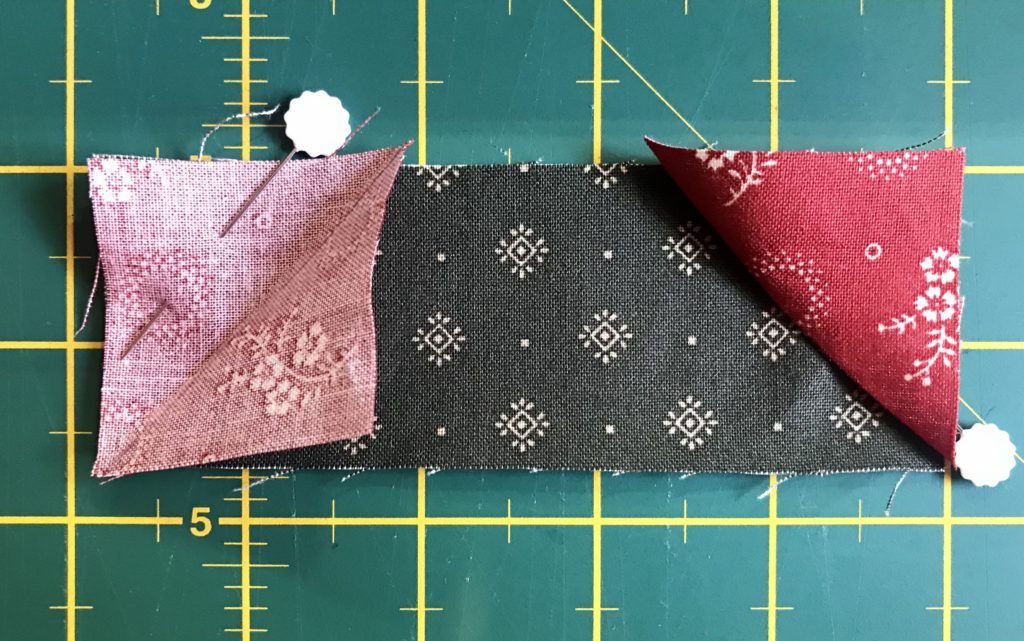
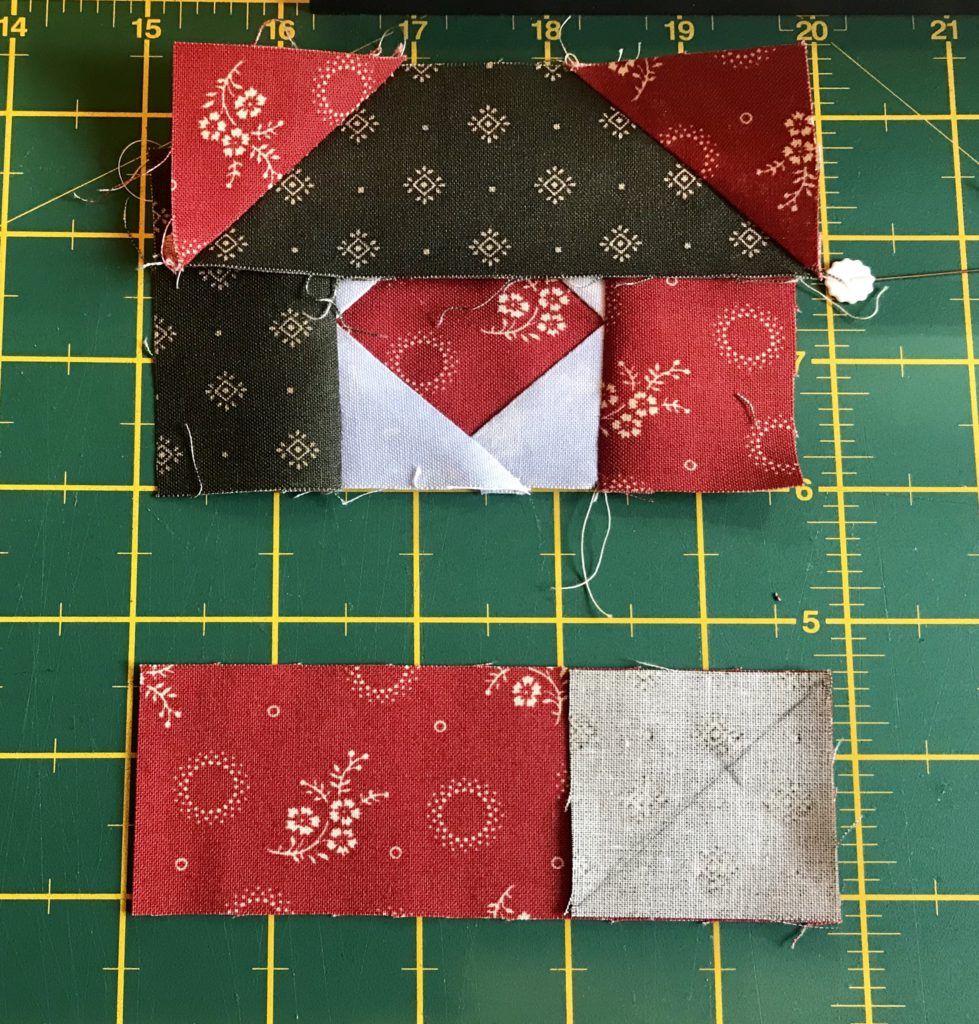
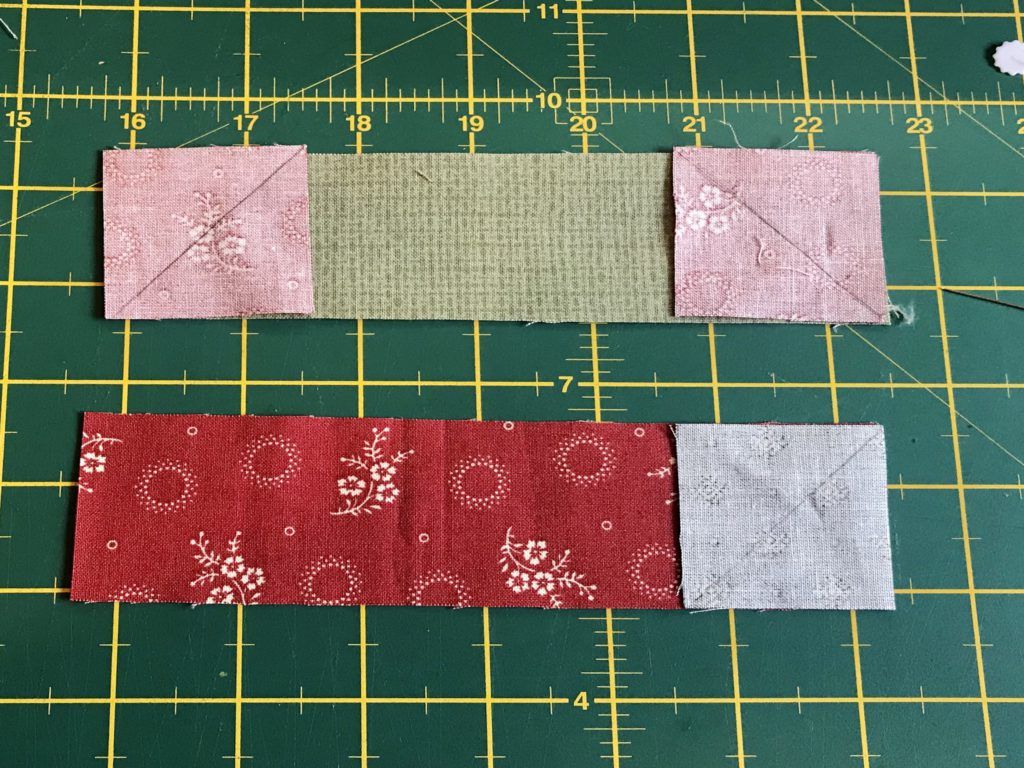
En este paso vamos a ver como preparamos las piezas que van con triángulos en las esquinas (A8/A10/A15/A17/A22/A24). Cogeremos la pieza correspondiente y sus cuadrados: 2 color rojo y 1 color verde oscuro.
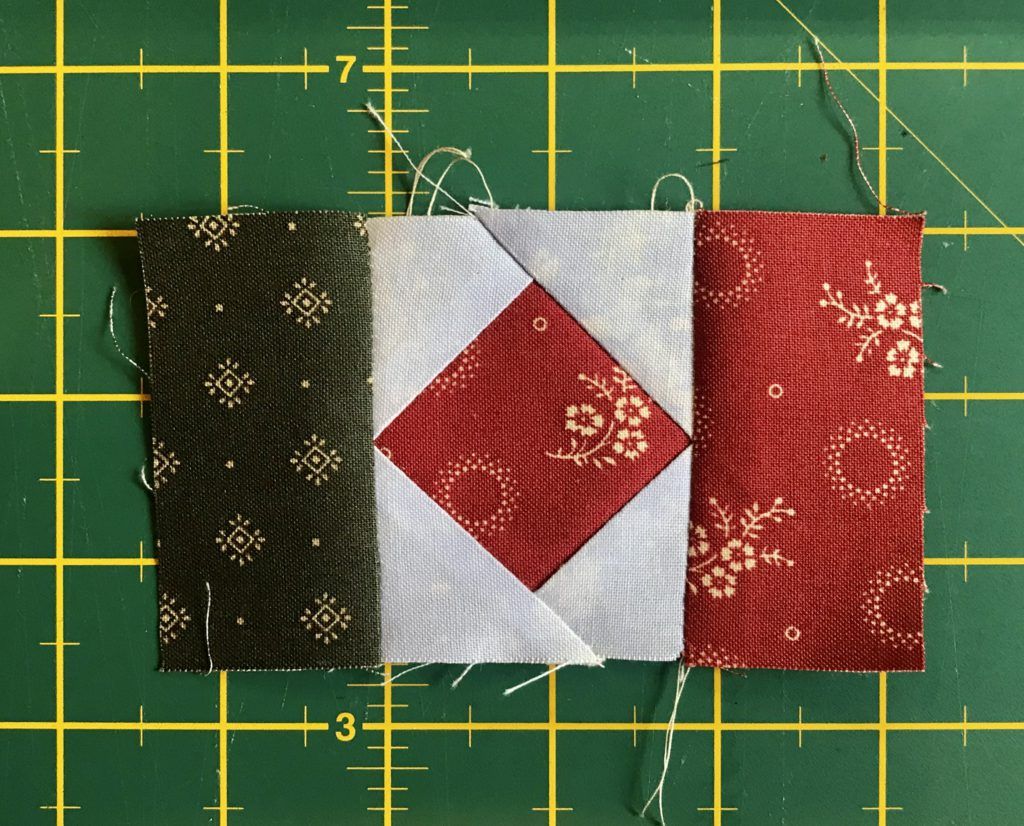
Nos aseguramos de que la pieza la estamos posicionando correctamente. Cosemos, cortamos y planchamos.
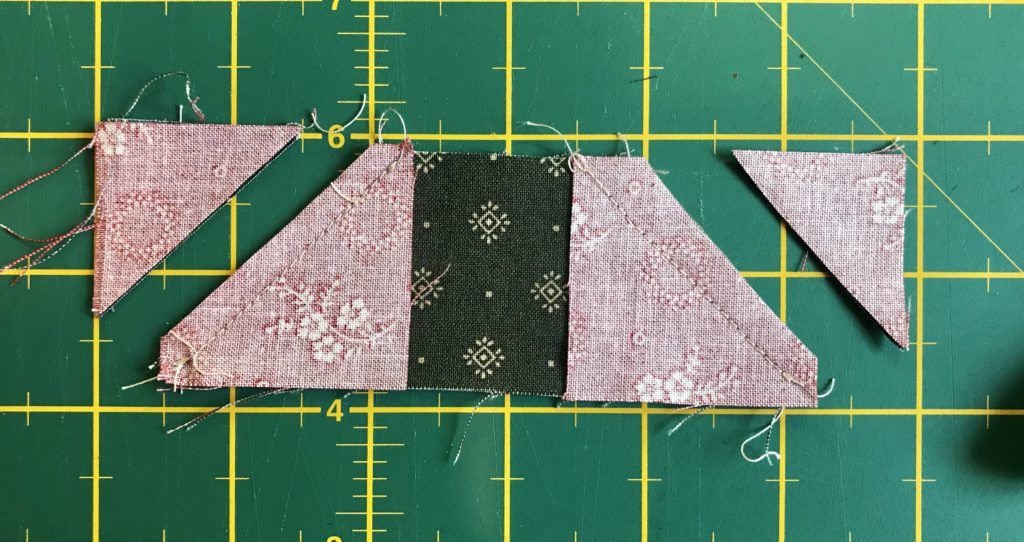
Haremos lo mismo con la otra pieza.

Ya están las pieza A13 y A14 listas para coser al centro.
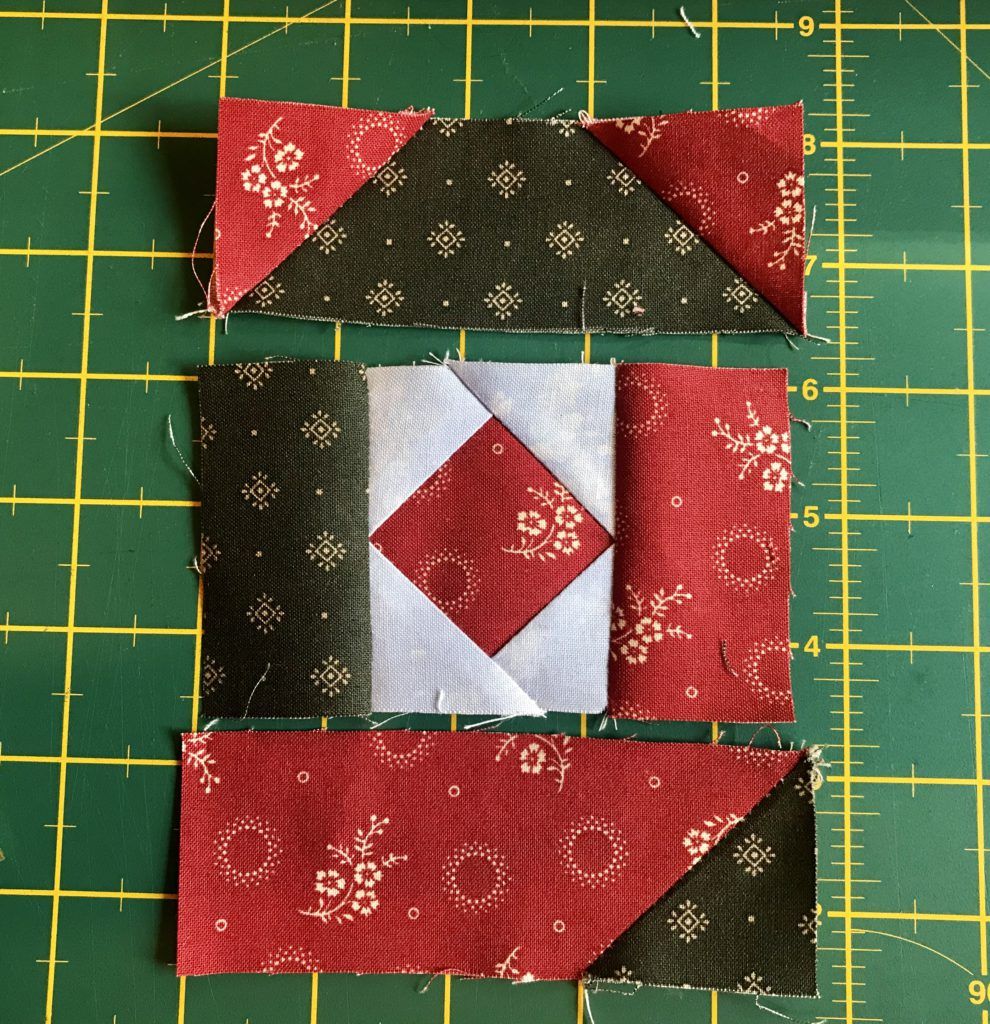
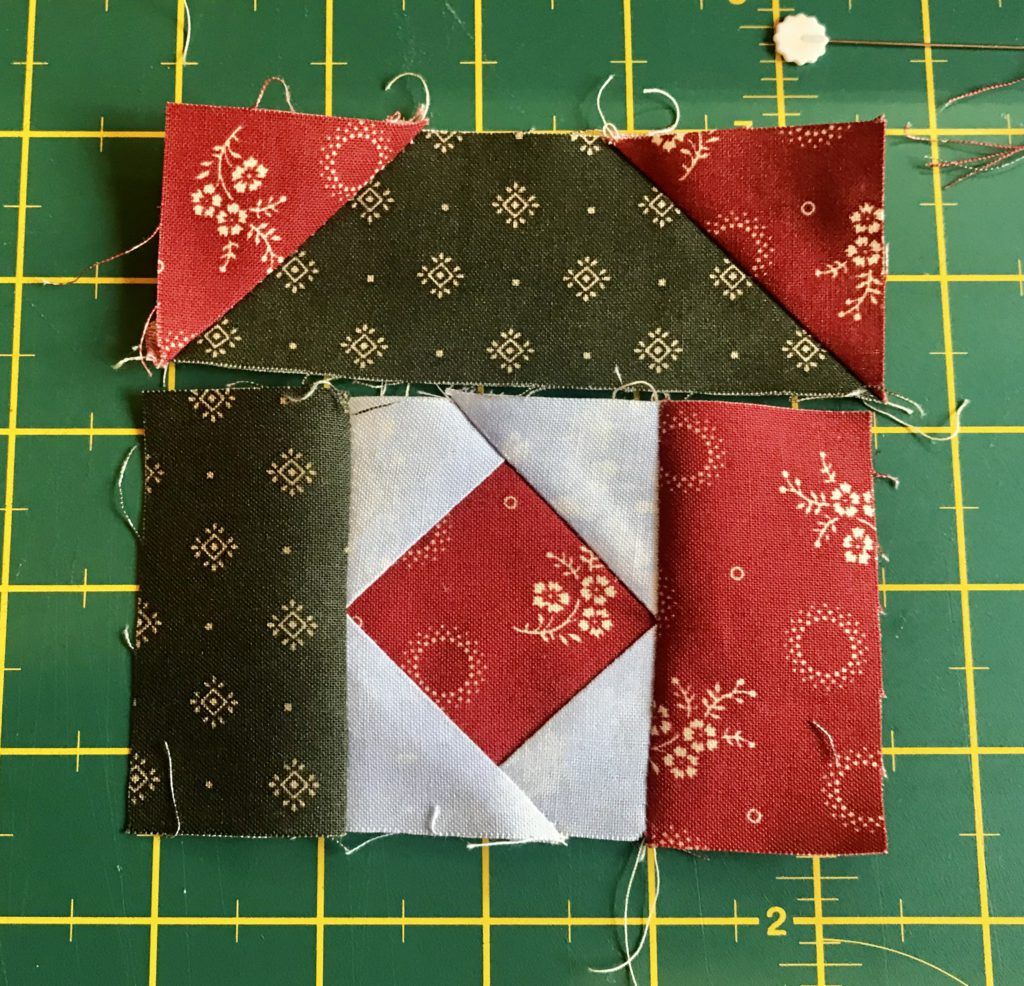
A continuación, irán las piezas correspondientes a las letras A13, tanto en verde medio como en rojo.
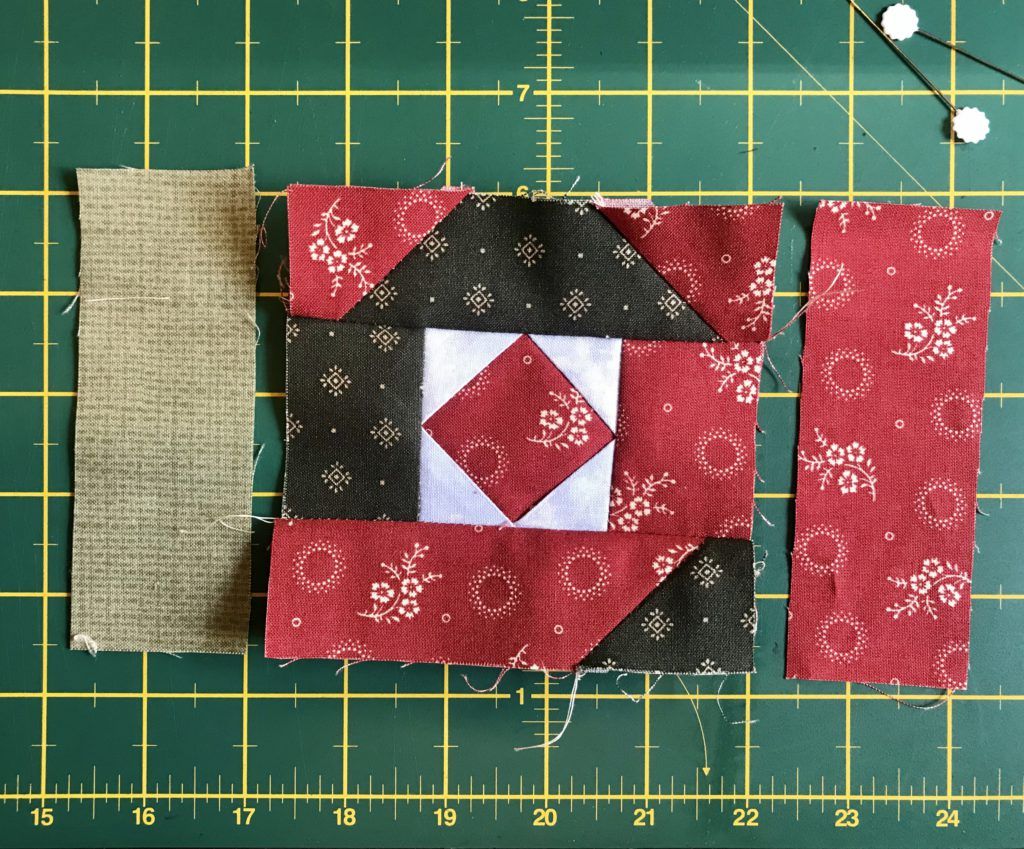
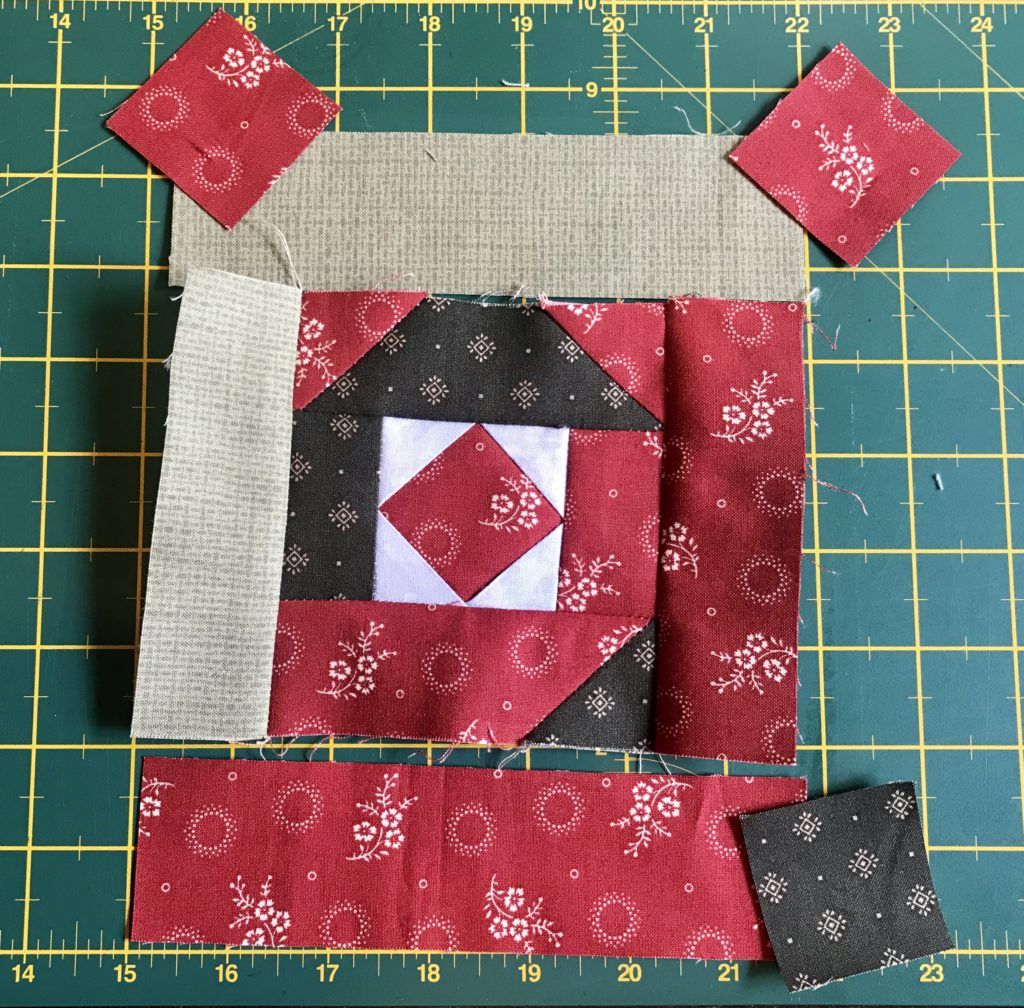
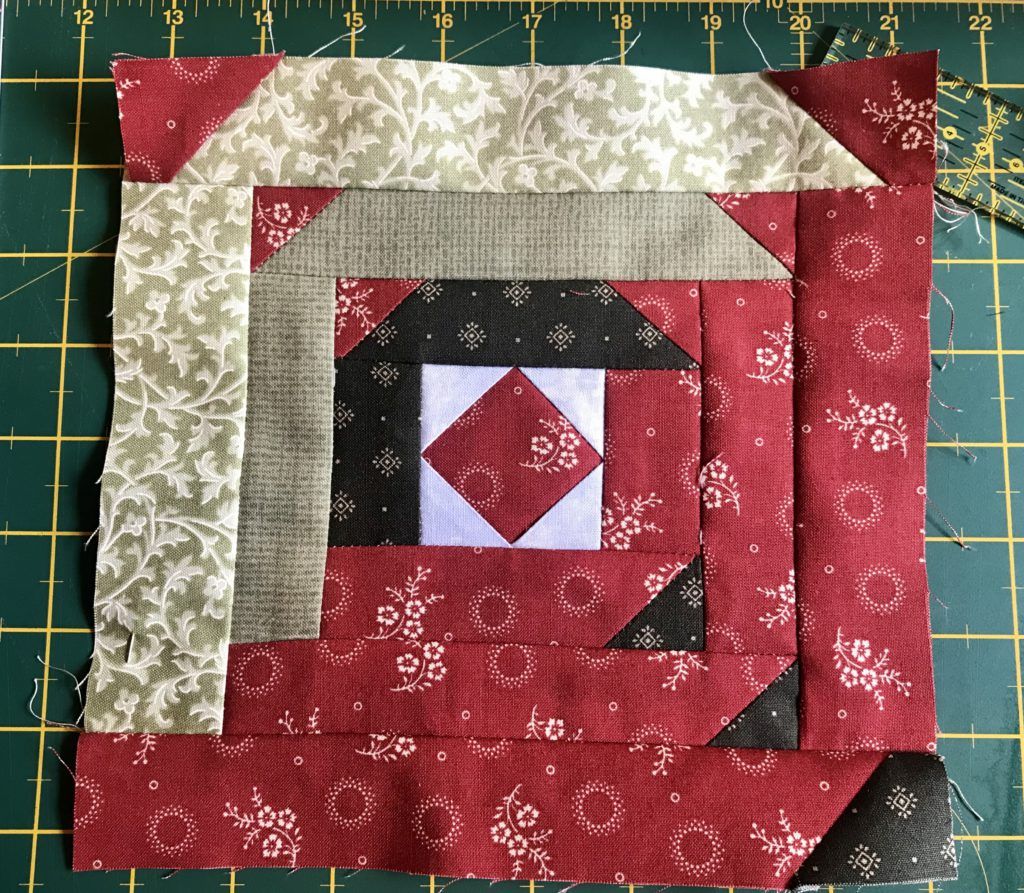
Y así iremos poniendo el reto de piezas hasta completar el bloque.
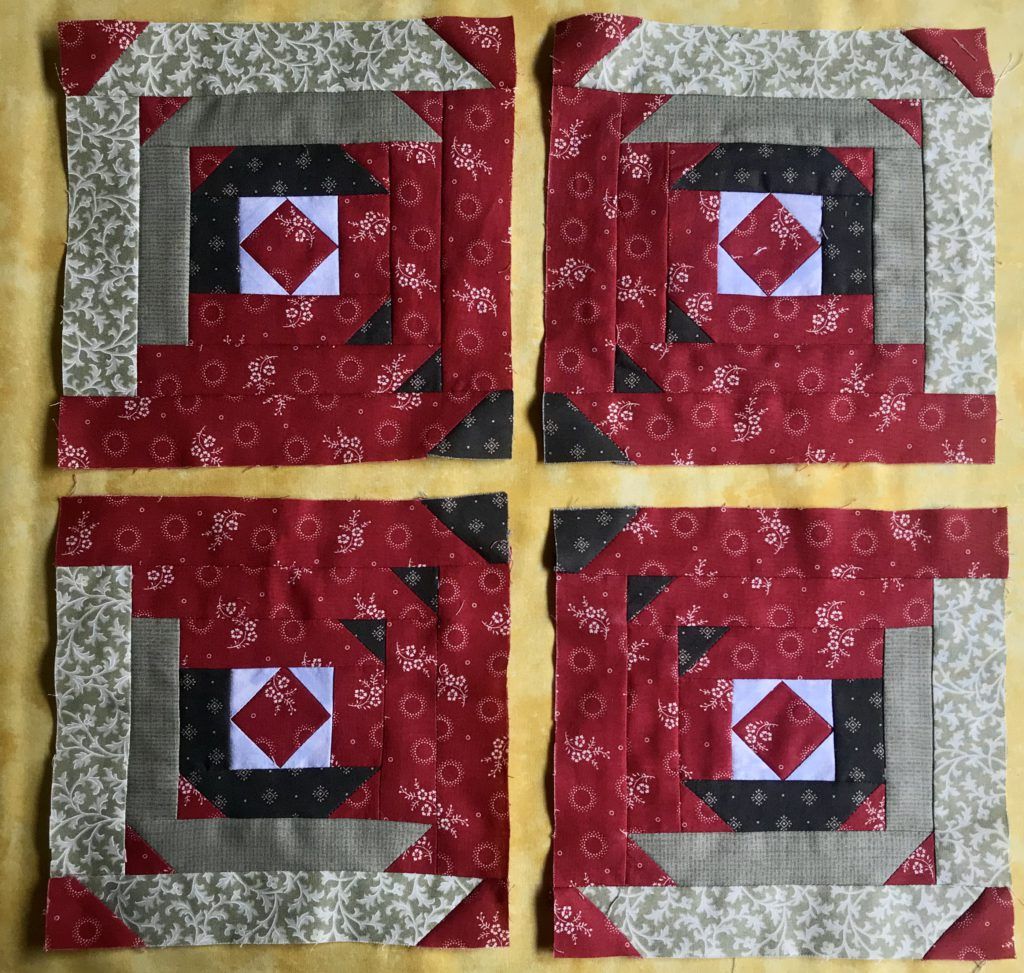
Ahora toca preparar el bloque 2, que es el que haría de espejo a éste. Lo único volver a recordaros que las piezas verdes van a la izquierda de la tira roja correspondiente.
Y bloques terminados.
Telas para el bloque del próximo jueves 7 de mayo:
Para el próximo bloque podéis usar restos de telas que os hayan sobrado de otras entregas anteriores.
Espero que os haya gustado esta entrega y disfrutéis mucho al hacerla.
¡Estamos impacientes por ver vuestros bloques!
¡Ya queda menos!
ENGLISH VERSION:
Hey everyone!
I’m Nieves and once again I get closer to you to deliver you the seventh release of the Mistery that Komola proposes for these special days.
It’s a block that we’ve already introduced some days ago, but on this release what we want is to give you another option for working the Log Cabin block. Usually we use the sewing paper, but in this case our proposal is to work it by pieces without using acetate.
Seventh release Mistery Quilt by Komola Krafts
The block size will be of 20cm x 20cm, to which we’ll have to add the sewing margin you’ll be working with.
We need to make 4 blocks on this projects and remember that, like the previous release, 2 of them will be made on the mirror version regarding the other blocks. To make things easier, we give you the pattern for the 2 options.
Also, this time you’ll be able to download the legend that I’ve used to make my project as an example:
This log cabin will have to be made with the same fabrics that you used for the 10cm x 10cm log cabins from previous releases.
TIP: the small green triangles on one block go to the right of the correspondent piece and the other one to the left of the block.
Before starting we’d make what’s called a legend, where we’ll identify each piece with the correspondent colour and we’ll calculate the number of pieces and their size.
Firstly, we cut our pieces.
We’ll start preparing the central piece and for it we’ll use the red piece of 5cm x 5cm and 4 pieces of 2,5cm x 2,5cm (this will be the background fabrics or the lighter green), On this pieces of 2,5cm x 2,5cm we’ll draw on the back of the fabric a diagonal line, that will work as a sewing line.
We place the squares of 2,5cm x 2,5cm on the red piece.
We sew by machine and cut the excess of fabrics and we’ll iron it.
We go to put the other corner, we sew, cut and we iron.
It starts to take form! Now we put the other 2 corners.
Having the centre, now we start putting the rest of the pieces.
On this step we’ll see how to prepare the pieces that will have triangles on the corners (A8/A10/A15/A17/A22/A24). We get the correspondent piece and their squares: 2 red and 1 dark green.
We make sure that we’re placing the piece correctly. We sew, cut and iron.
We do the same with the other piece.
Now the pieces A13 and A14 are prepared for sewing them to the centre.
Next will go the pieces correspondent to the letters A13, both on mid green and red.
And as said we’ll put the rest of the pieces until the completion of the block.
Now we have to prepare the second block, that is the one that’d make the mirror to this. The only reminder is that the green pieces go to the left of the correspondent red stripe.
And the blocks are done.
Fabrics for the next block on Thursday 7th of March:
For the next block you can use the remaining of the fabrics from other releases.
Hope you all liked it and that you had fun making it!