¡¡Hola a todos/as!!
Soy Ana, profesora de bordado y de Patchwork en nivel de iniciación, y hoy soy la encargada de traeros la sexta entrega del Mistery Quilt. Me hace mucha ilusión participar en este reto y presentaros los bloques desde la perspectiva del bordado. Además, en esta entrega os voy a adjuntar también la versión en patchwork para la que elegido una de mis técnicas preferidas: la aplicación a puntada escondida.
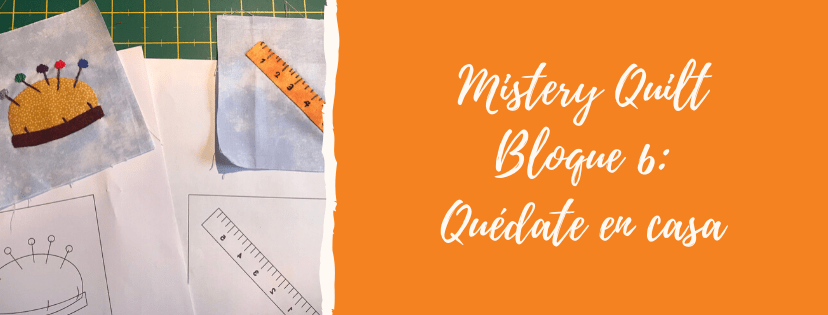
Sexta entrega Mistery Quilt by Komola Krafts
Para este proyectos necesitaréis el siguiente material:
– Dos piezas de tela de fondo de 10cm x 10cm ó de 4” x 4”.
– Diversos retales para la aplicación.
– Fliselina de una cara o de dos caras, según queráis hacer la aplicación.
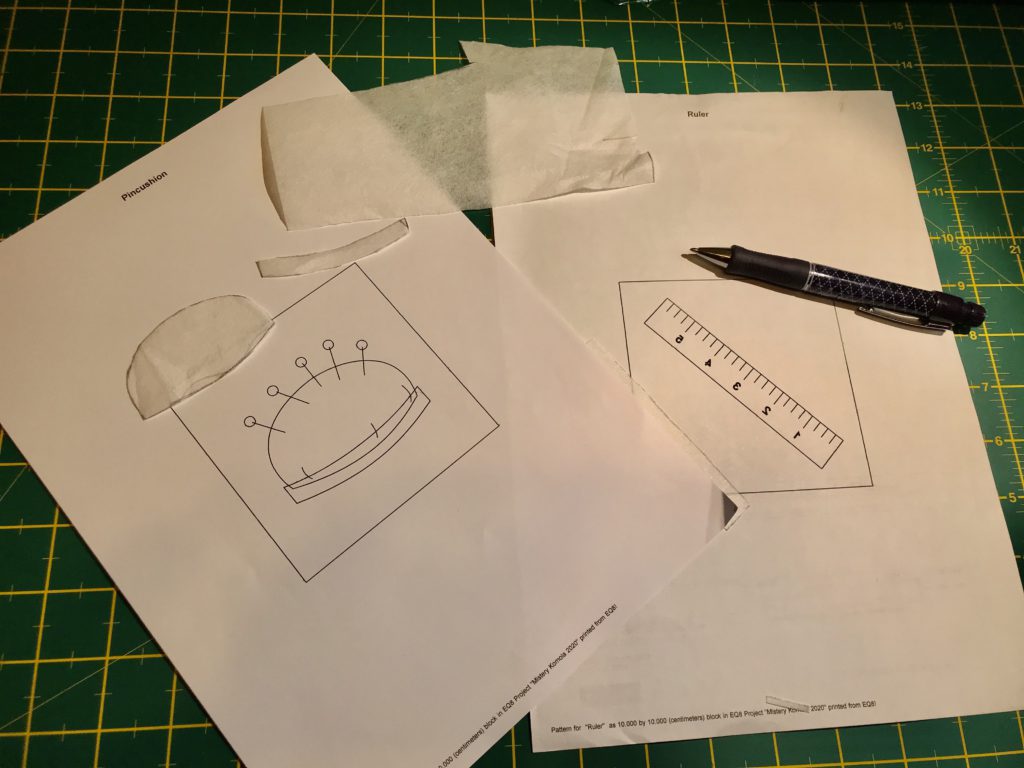
En primer lugar, calcaremos en nuestra fliselina la silueta de las piezas. Os recuerdo que si utilizamos fliselina de dos caras, cuando recorte el papel dejaremos un pequeño margen antes de pasarla a la tela. Si utilizamos fliselina de una cara, no dejaremos este margen, ya que este se lo daremos a la tela. Yo he utilizado fliselina de una cara.
Os recuerdo las opciones que nos han dado en anteriores bloques, de cómo nos podemos ayudarnos para posicionar nuestras piezas en el bloque.
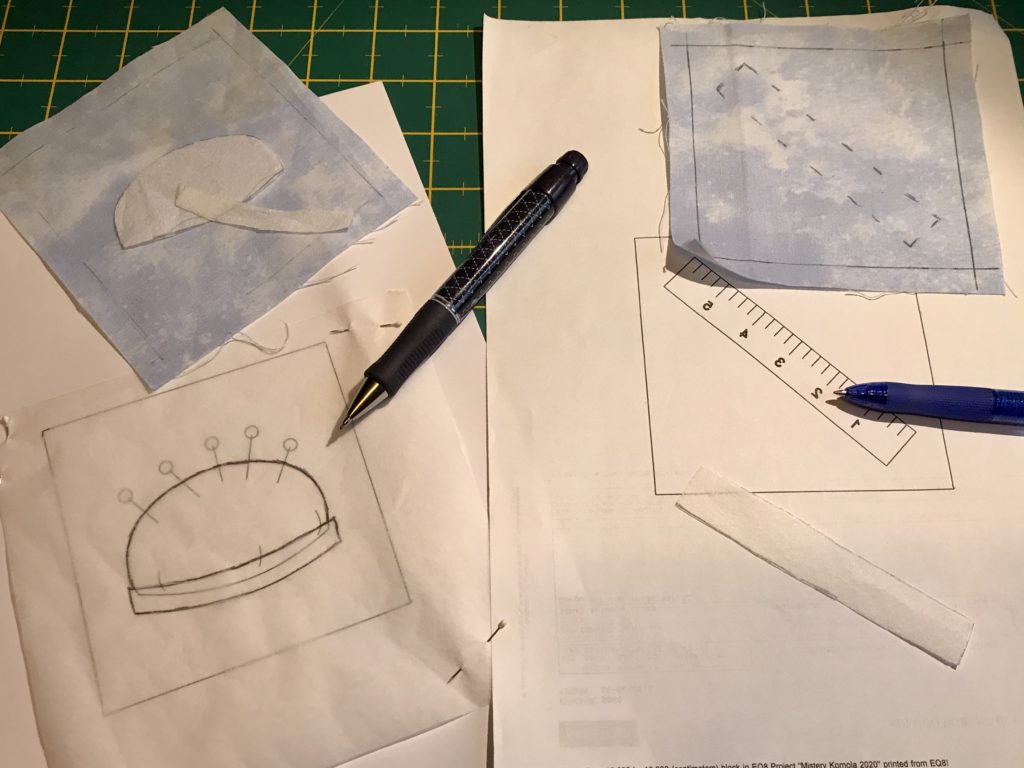
Podemos calcar la silueta en nuestro fondo, siempre utilizando una lapiz textil o un bolígrafo que se borre con plancha; o bien podemos utilizar con papel de horno. Después pasaremos estas piezas a nuestras telas.
Ahora procederemos según la técnica que hayamos elegido para la aplicación.
Como os he comentado, yo he elegido la aplicación a puntada escondida. Como una de las cosas que a veces nos cuesta son las esquinas,voy a intentar daros dos formas en que podemos resolverlo.
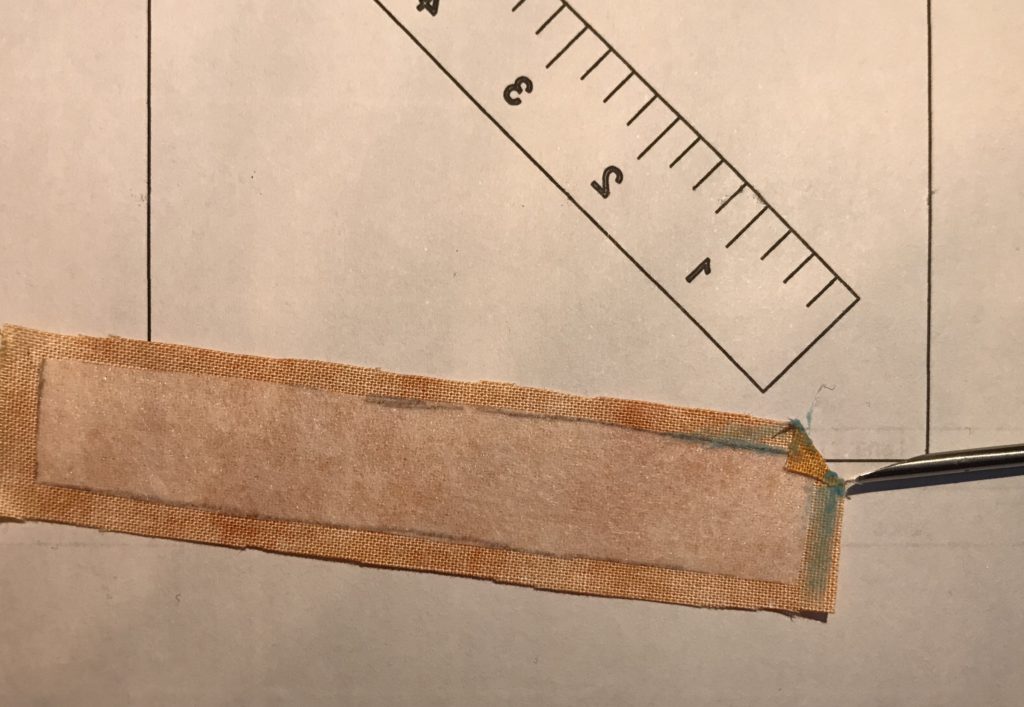
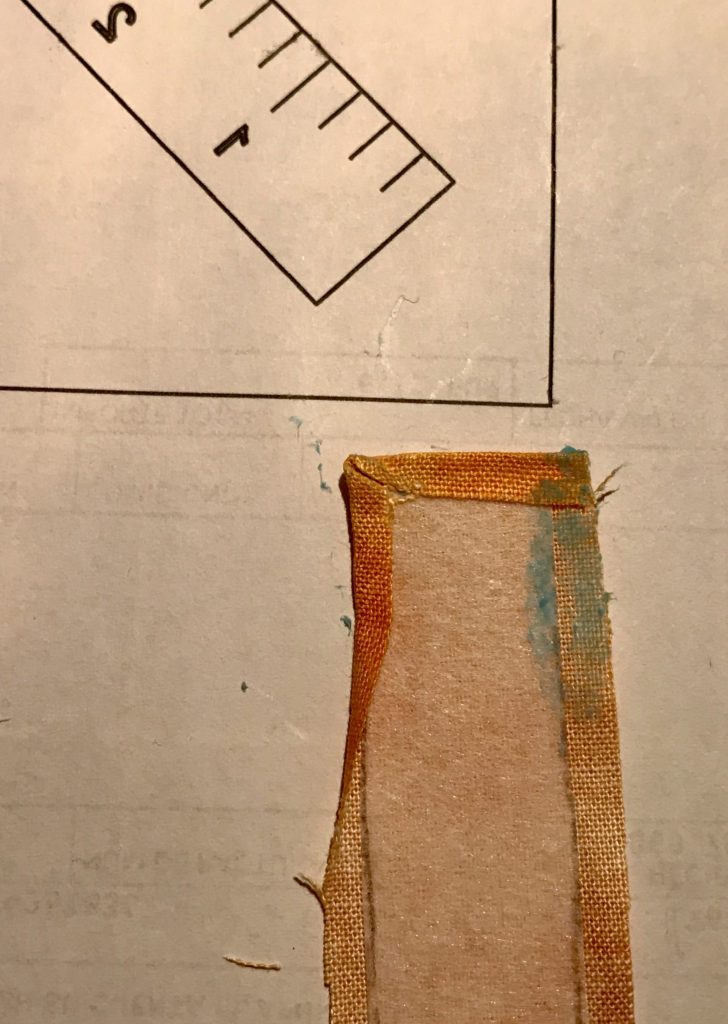
La primera: giraríamos la esquina del margen de costura de la tela sobre si misma haciendo una especie de ángulo de 45º. Luego giraremos ambos lados hacia dentro quedando hecha la esquina.
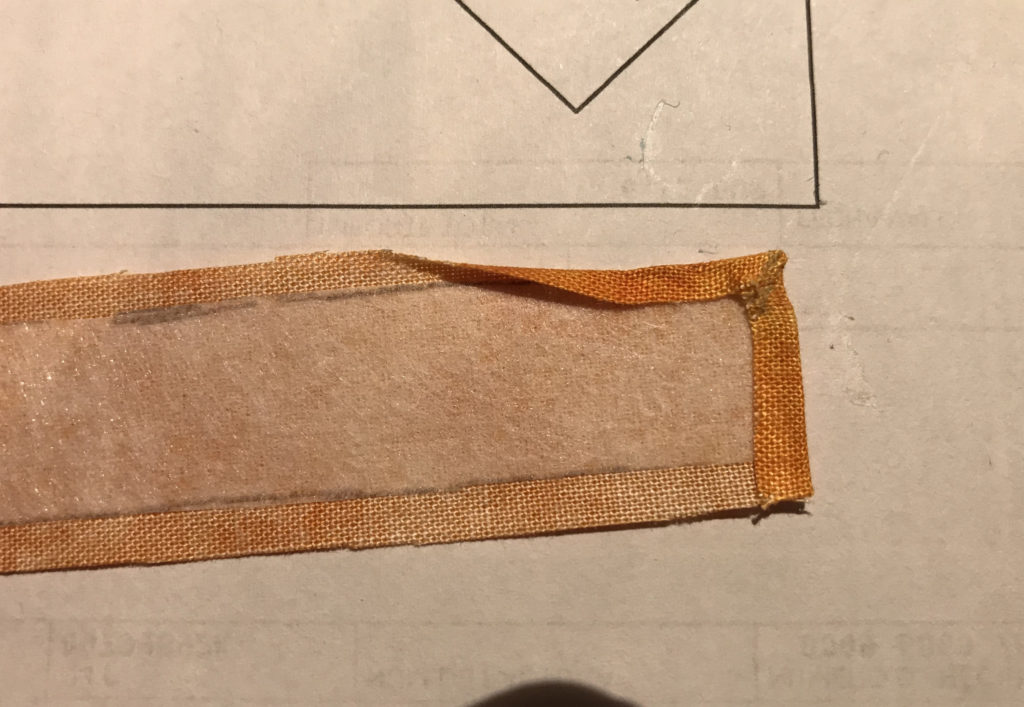
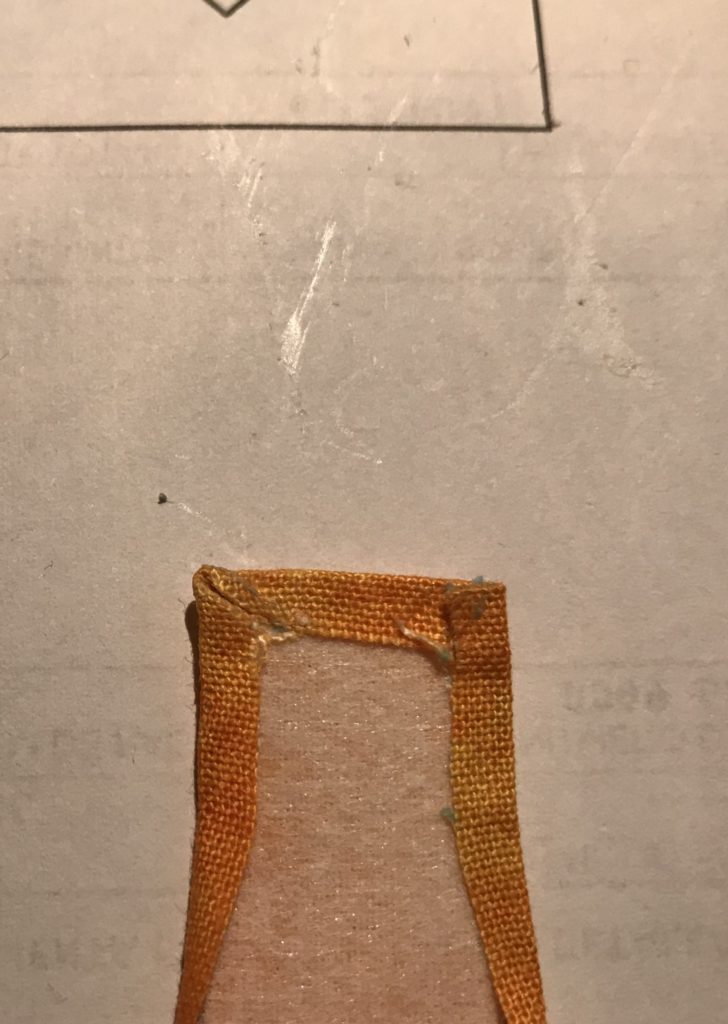
La segunda: giraríamos primero un lado y posteriormente el otro sobre si mismo. Aquí tendremos cuidado con el exceso de tela para que no nos hagas mucho bulto.
NOTA: he utilizado pegamento de color azul, para que se vea en las fotos.
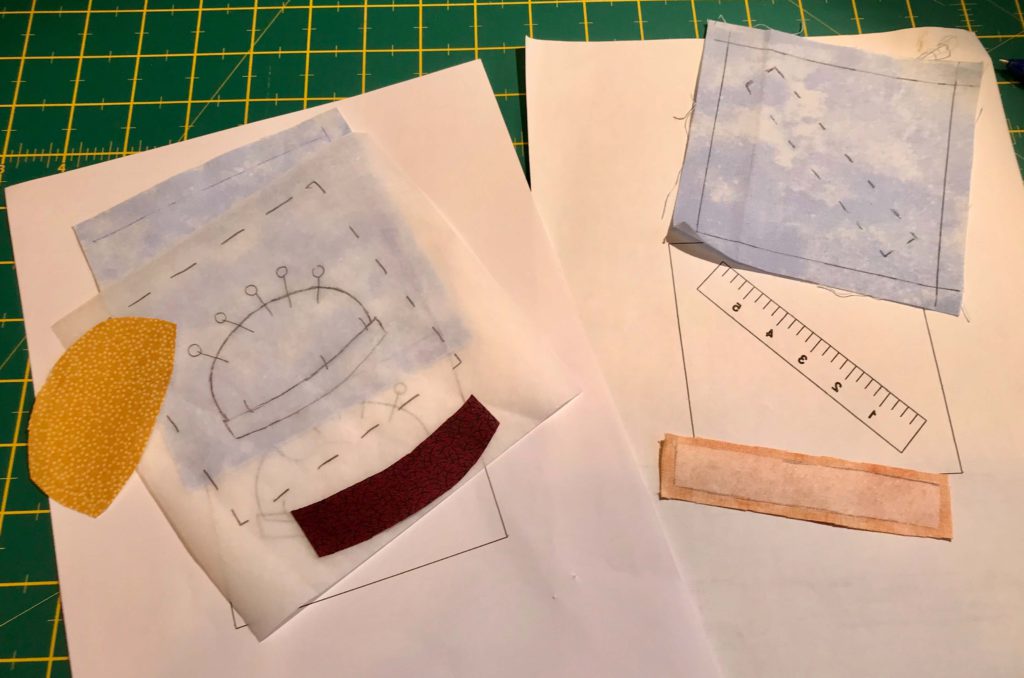
Una vez preparadas las piezas ya pasamos a fijarlas al fondo.
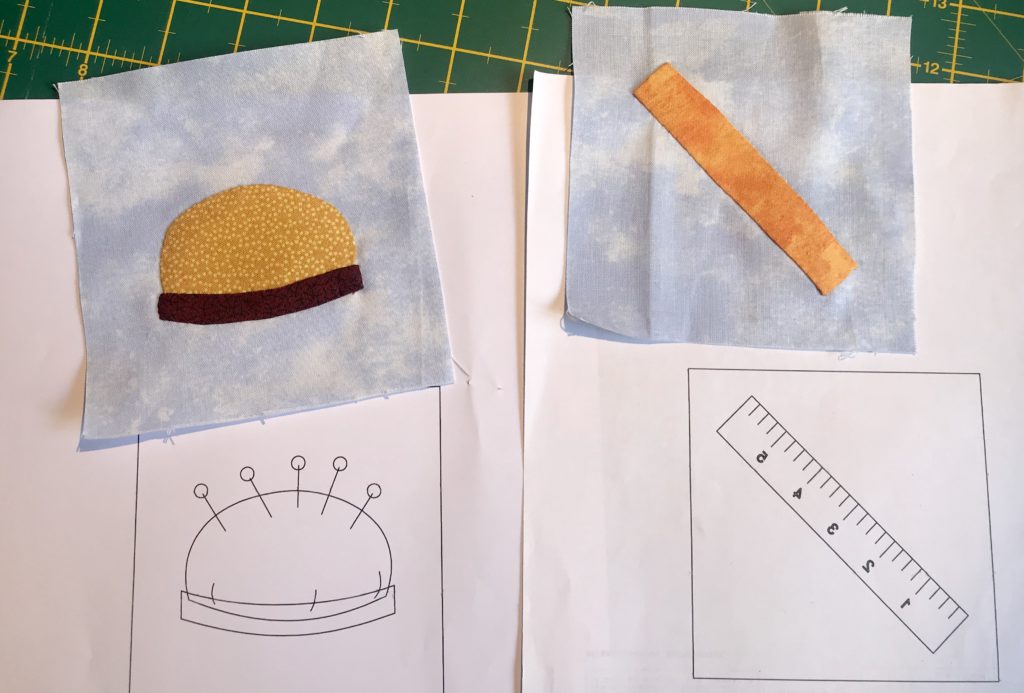
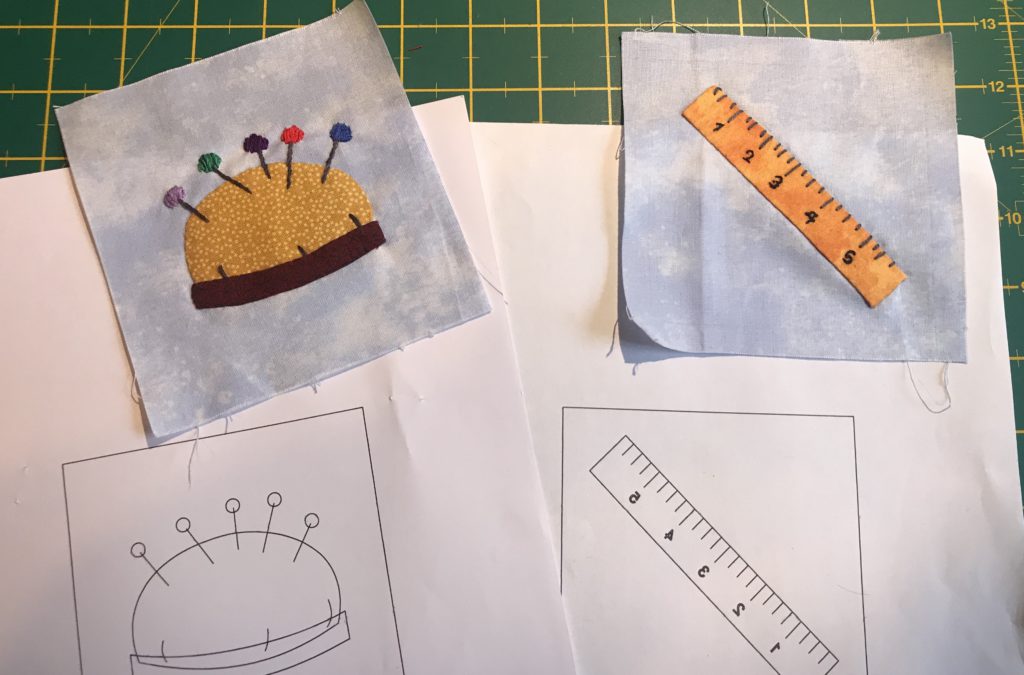
Y ahora le vamos a dar nuestro toque, con unas puntadas de bordado. Yo voy a bordar los alfileres con sus cabezas de colores y la escala de la regla.
Espero os haya gustado y disfrutéis con esta propuesta.
¡Estamos impacientes por ver vuestros bloques en nuestro grupo de Facebook! ¡Hasta el próximo bloque!
ENGLISH VERSION:
Hello everyone!
I’m Ana, the embroidery and initiation level of Patchwork teacher, and today I’m the one in charge to bring you the sixt realease of Mistery Quilt. I’m really excited to be participating on this challenge and presenting you the blocks from the perspective of the embroidery. Also on this release I will be attaching the patchwork version for which I have selected one of my favorite techniques: the application by hidden stitch.
Sixth Release of Mistery Quilt by Komola Krafts
For this proJect you’ll need the following material:
- 2 pieces of background fabric of 10cm x 10cm or 4” x 4”
- Several leftovers for the application.
- Fliselina of one or two sides or the stabilizer of your choice, depending on how you do the appliqué.
First, we’ll copy the silhouette of our pieces on the fliselina or the stabilizer of your choice. I remind you that if you use the 2 sided one, when we cut the paper we’ll leave a small margin before doing it on the fabric. I have used the one sided one.
I remind that the option that we were provided on previous releases, how we can help ourselves to place our pieces on the block.
We can place the silhouette on our background, always using a textile pencil or a pen that clears up with ironing; or we can use oven paper. After that we’ll move the pieces to our fabrics.
Now we proceed following the technique that we’ve chosen for the appliance.
As I mentioned, I have chosen a hidden stitch appliance. As one of the things that sometimes is hard for us are the corners, I’ try to give you 2 ways of solving it.
- First one: we turn the corner of the sewing margin of the fabrics on itself making a kind of 45º angle. Then we’ll turn both sides to the inside thus forming the corner.
- Second one: we’ll turn one side first and the other on top of itself. Here we have to be careful with the excess of fabric so a bulge isn’t formed.
Note: I have used blue glue so it can be seen in photos.
Once all the pieces are prepared we go on to attach them to the background.
Now we’ll give it our own touch with the embroidery stitches. I’m going to embroid the pins with the heads colored and the ruler scale.
I hope you liked it and enjoy this proposal.
We are looking forward to seeing your blocks! See you in the next block.